Hello Hello :)
Today I would like to share with you some of my recent creative fun with the AWEEEEESOME 7 Dots Studio :) :) :)
First up is my March Blog post projects :) :) :)


Today I would like to share with you some of my recent creative fun with the AWEEEEESOME 7 Dots Studio :) :) :)
First up is my March Blog post projects :) :) :)
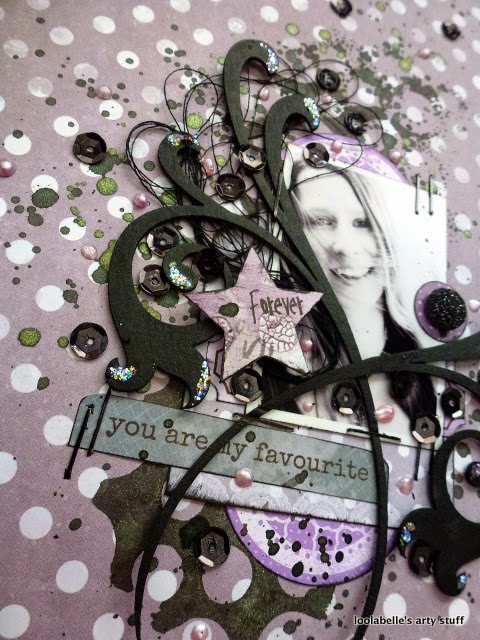
And this be a layout step-out that I created for the Blog >>> HERE :)
To create this simple and colourful layout, i have provided a quick and easy pictorial step out below.
Select your desired stencil, spray a portion of it with mist, and then stamp this image onto the background paper.
Take some stiff wire thread, and form by hand several loops [that are larger than your chosen photo].
Adhere both the coiled wire thread and photo onto background using staples.
Select some fabulous 7 Dots Studio chipboard and colour it using a coordinated ink.
When chipboard is dry, add and touch of silver with some mist and allow to dry.
Adhere chipboard to photo/background using strong clear drying glue.
Add some sequins, clustering them around the photo and adhere using clear drying glue.
Shield the photo and add some extra pops and splats of colour, here I have sued the same mist as I used on stencil and the same silver mist used on the chipboard.
Complete layout with some hand journaling.
Cheers for now and happy Scrapping :)
Louise :) xox


3 comments:
All seriously gorgeous...your attention to detail is amazing! Haha & I know the true attention to detail that goes into each of your layouts xo
I LOVE LOVE LOVE your layouts. Thank you for showing a tutorial!
I love this layout so much and the creativity and thought up-changing an item to fit your layout perfectly, thanks for sharing
Post a Comment