Hello Hello
Today I would like to sahre with a Layout step-out I did for the fabulous 7 dots Studio!!! Blogged >>> HERE :) :) :)
Today I would like to sahre with a Layout step-out I did for the fabulous 7 dots Studio!!! Blogged >>> HERE :) :) :)
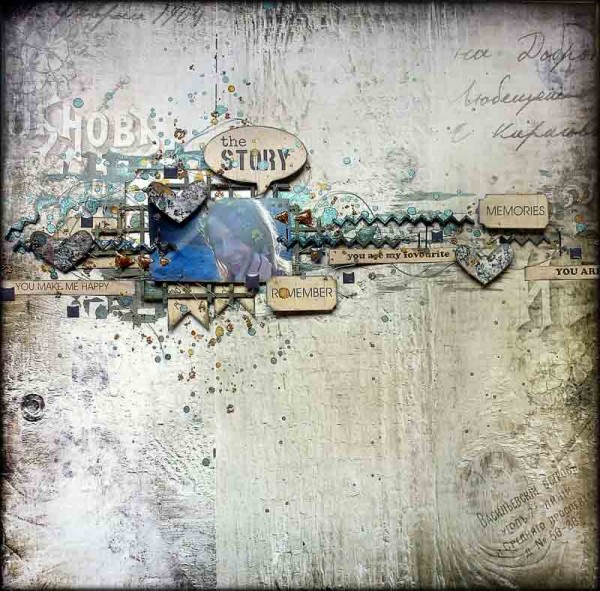
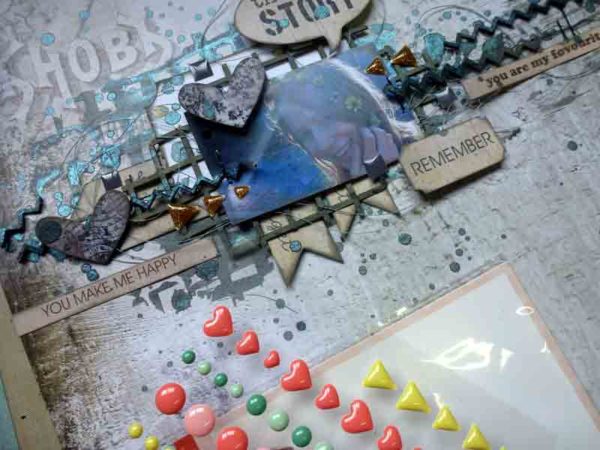
Layout – The Story
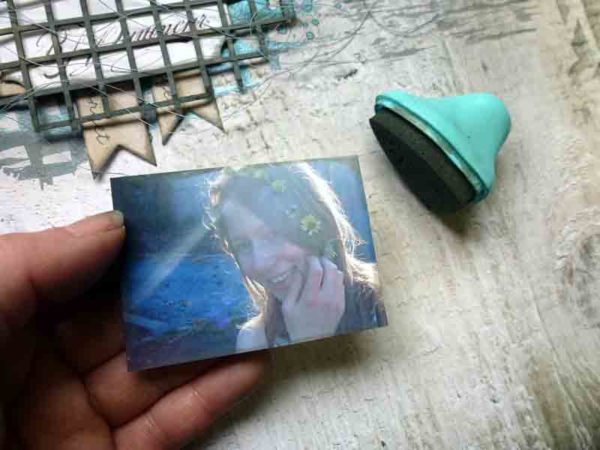
I created this layout using a favourite photo of my beautiful young friend Jessica. I haven’t scrapped this photo before as it is such a bad quality image, however I decided not to let that stop me, and so I have finally scrapped it 


Materials list:
7 Dots Studio:
12 x 12 Die Cut Elements – Wonderland
Other:
Prima Marketing – Chalk ink, Color Bloom Spray Mist
Ranger – Distress paint
Kaisercraft – enamel dots
MME – enamel dots
Imaginarium Designs – Chipboard
Micro beads
Staples
Cotton

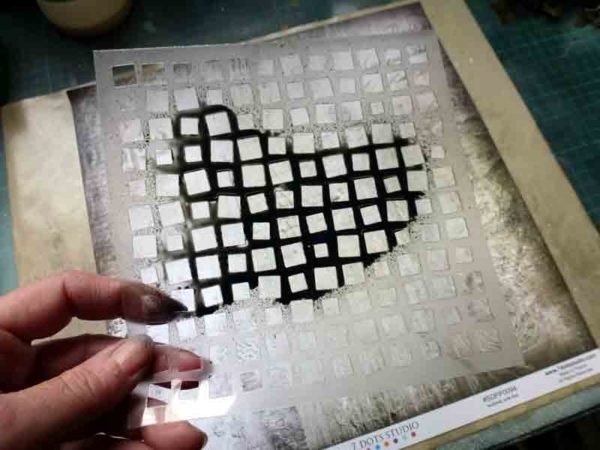
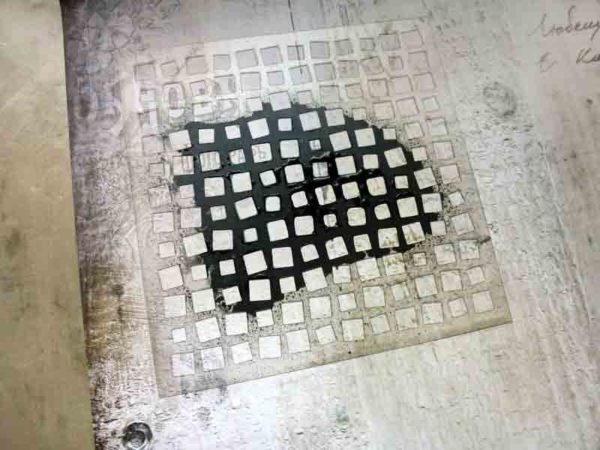
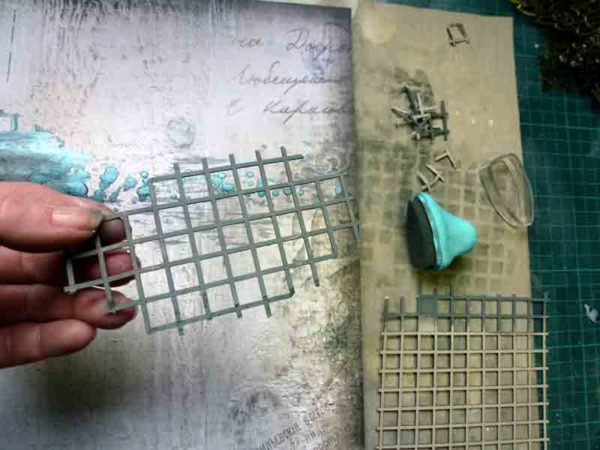
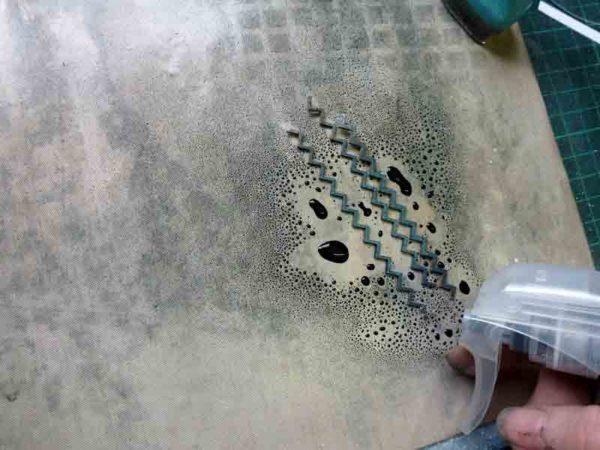
First spray mist onto square mask, just a small area slightly bigger that chosen photo.

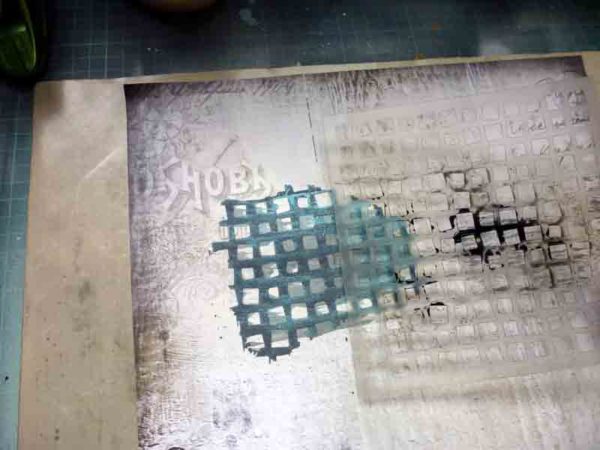
Flip the mask over and stamp mist onto background paper.

When removing mask, drag the mask across the background paper so any residue mist is dragged off onto the background.

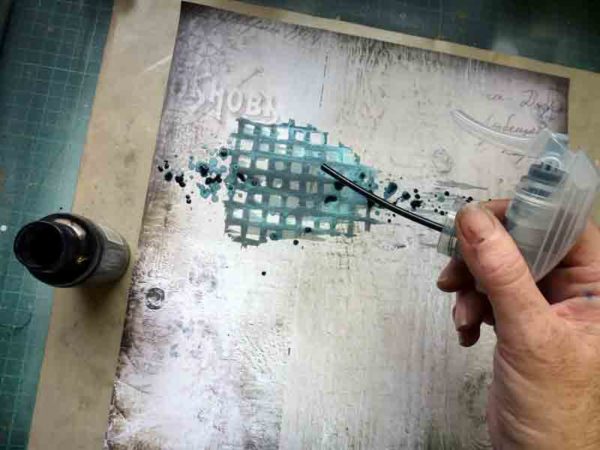
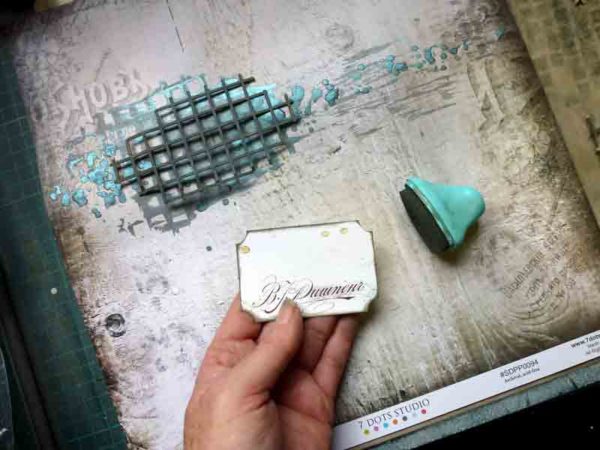
Add extra splats of the mist from left to right along area of the masked mist.

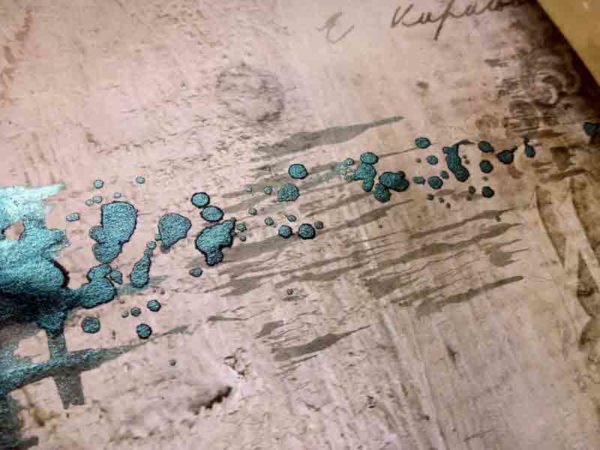
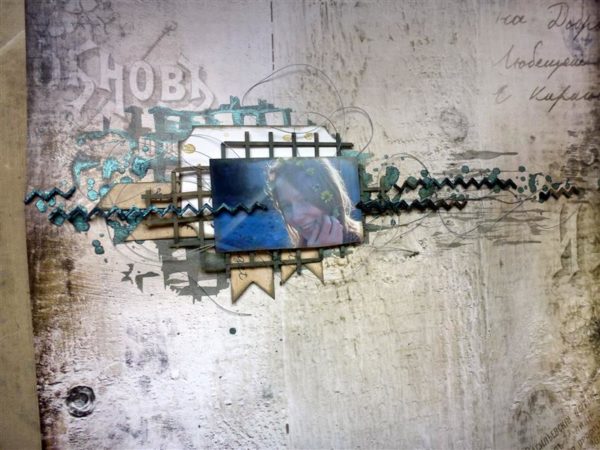
This is what the dragged mist looks like on the background, it just looks like part of the pattern on the patterned paper.

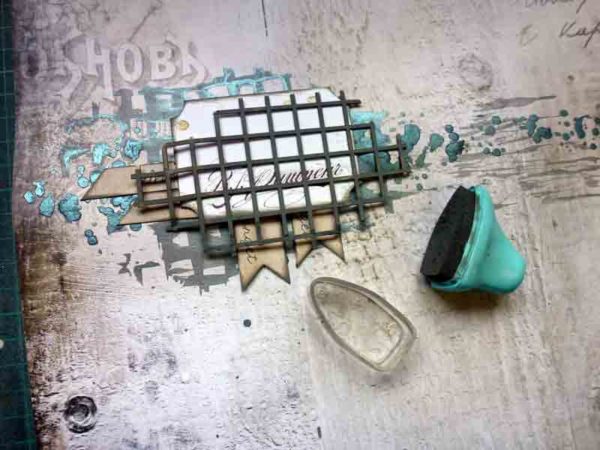
Take selected chipboard [that coordinates with the mask pattern], ink it with the chalk ink and tear/shape it to be slightly larger than selected photo.

Take a selection of die cut elements and ink the edges.

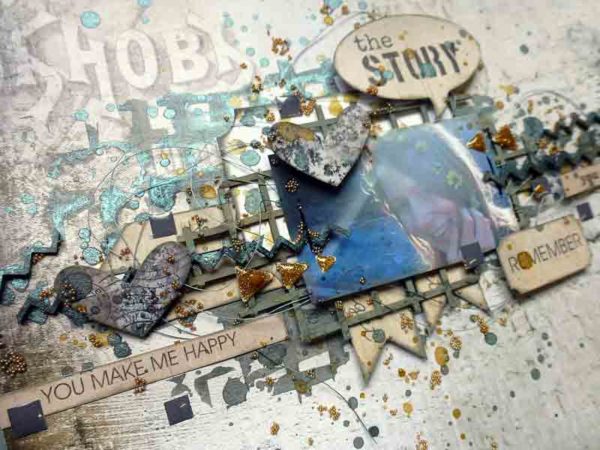
Arrange die cut elements over the main misted mask pattern and then lay the chipboard over the top.

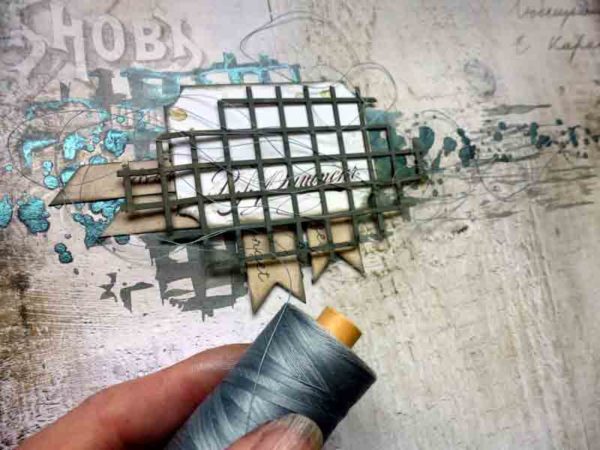
Select a coordinating cotton thread and lay several strands from one side of the layout to the other, over the top of chipboard.

Take selected photo and ink the edges.

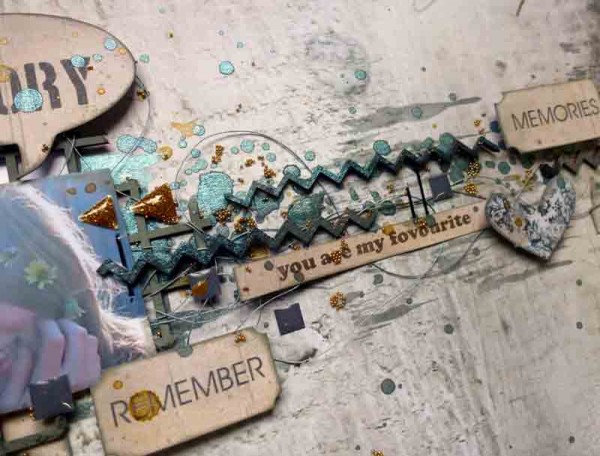
Take zig zag chipboard and colour with mist.

Adhere zig zag chipboard on layout as depicted above.

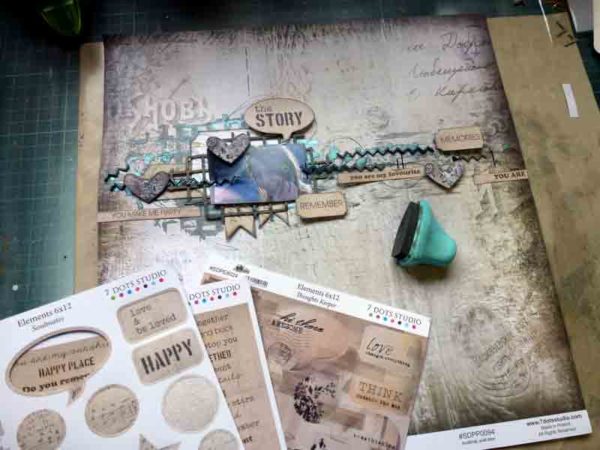
Choose a selection of word stickers and die cut elements that suit the sentiment of your photo, ink the edges and adhere to the layout.

To add further embellishment, adhere a selection of enamel dots.

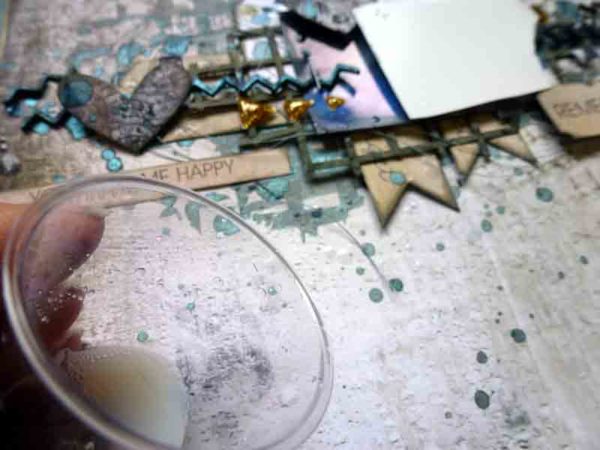
Mix up a small amount of Glossy Accents and water [to the consistency of runny honey] and splatter a very small amount around the photo and element cluster using a small soft bristle paint brush.

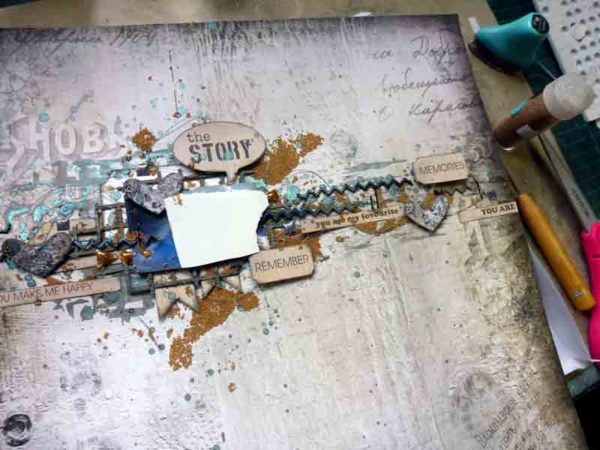
Sprinkle micro beads over the areas of splattered glossy accents. This will allow the beads to adhere to the background.

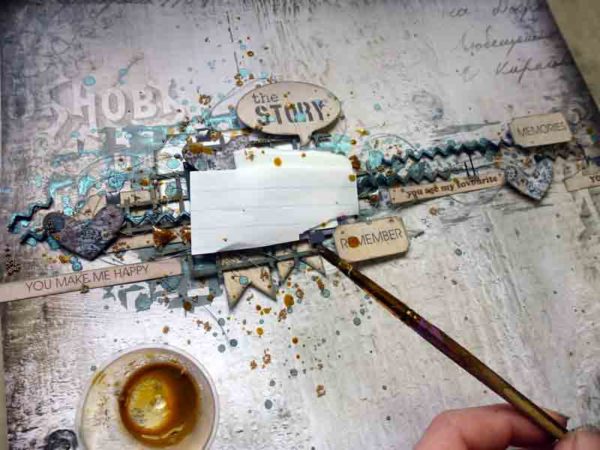
To complete layout cover photo with scraps of paper and add extra splats of coordinating paint over and around the photo and elements cluster.
Well that is it for the mo :)
Cheers and Happy Scrapping
Louise :) xxx
1 comment:
oh my gosh Lou.. I have come away from looking at this tutorial totally inspired!!
LOVING this!
I just want to go and play now!
You never fail to inspire me xx
Post a Comment